
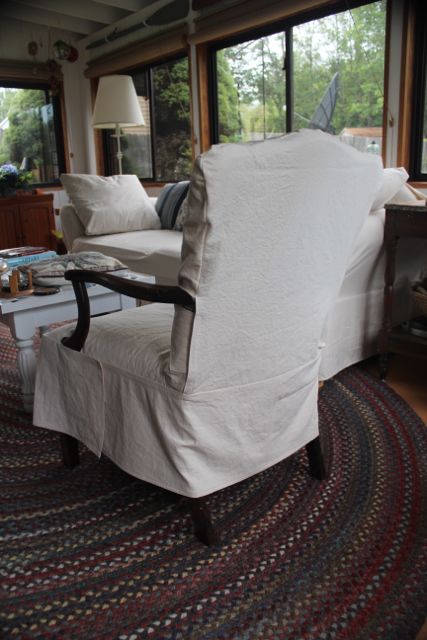
We have this serviceable but old chair that sits on the sun porch. The sunporch was totally redecorated by my husband, 22 year old step-daughter, and me over Memorial Day week 2012. The roof was recently replaced, so there was only one thing left to do. Recover the chair. I had purchased a slipcover for the pillow back sofa. That was too big a project for me to tackle when I could buy a cover for under $100. The chair, however, is not a normal shape. At least, not as far as commercially made slipcovers are concerned.


Since I had to buy cotton duck to cover 2 of the pillows for the sofa, I bought an extra 4 yards. It turned out to be exactly enough. I also planned exactly where I would have to put velcro strips to hold the whole thing on. I am not a fan of those adorable little bow ties, and I wanted this to look as tailored as possible.
I did a bucketload of searches online to find instructions for making my own slipcover. The best one I found suggested laying the fabric over each section of the chair and tracing a pencil line along the cording. I pinned the fabric to the chair so it wouldn’t slip, traced the cording and then cut the fabric about an inch bigger than that to have enough for a half inch seam allowance and hopefully a little extra in case the fabric shrank later.


I should, perhaps, take this moment to tell you that I had pre-washed the fabric and dried it in a hot dryer in order to minimize future shrinkage.
I started with the front and the back, not tapering the sides too much so it would be easy to actually slip the cover over the top of the chair. I stopped the seams right above the arms, which I wanted to leave exposed.


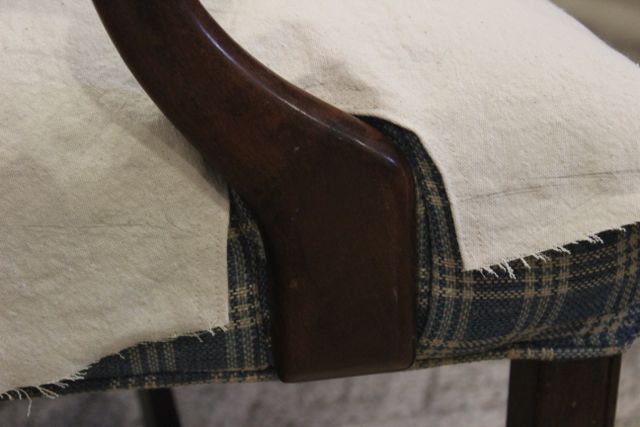
The next day I pinned the seat on and realized that I had cut the holes for the arms too large. I didn’t really want that much of the original chair fabric showing. 

Fortunately, cutting around the legs was not as challenging.

I should also mention that it is my habit to watch movies on a portable DVD player with a 7″ screen while I am sewing. My companion through this project was Apollo 13. If those guys could make it back from a disastrous journey, surely I could make a simple slipcover!
I decided to make patches for the underarm area. I could just call it “a bold, create move on my part.” Then I took stock of the fabric I had left. Uh oh. Just barely enough to make the skirting the length that I wanted it.


I measured around and built in a 1″ pleat on each corner. The back skirt didn’t have enough fabric in it to put in any pleats. In fact, I had to seam it right down the center in order to have a strip long enough to go all the way around both sides.
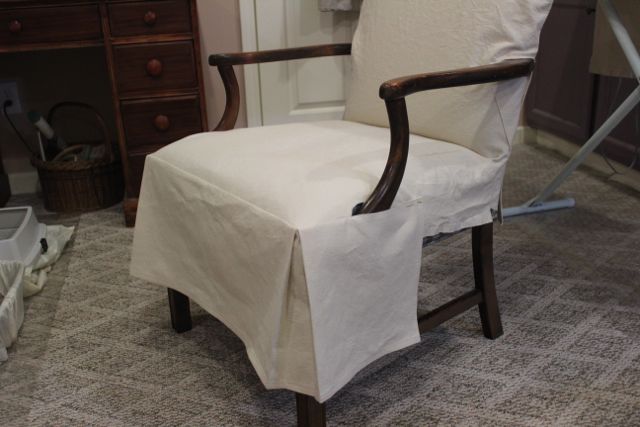

So to fill you in on the details, there is a single seam that goes from the top of one arm over the top of the back to the top of the other arm. There are velcro strips that go from under the arm to the top of the skirt in the back. The back skirt has a seam that holds it to the slipcover back from one side to the other. The back skirt actually extends to just behind where the arm support connects to the seat. From the side seam to the end of the skirt back, the seat and skirt have a velcro strip. The front skirt seam stops at the front of the arm support and then overlaps the back skirt with a strip of velcro about 3″ long. Got all that?
If I had it to do over again, here is what I would change: I would go back to the store and buy more fabric so that I could take the front of the skirt all the way to the back corners. The back skirt would only come around the front by about 3″ instead of 12″ thus giving the illusion that there were pleats over the back legs.
And where the arms attach to the back of the chair, I would cut slits when laying out the fabric instead of trying to go around the arm. If I’d done that, it’s unlikely I would have had to patch the sections underneath.
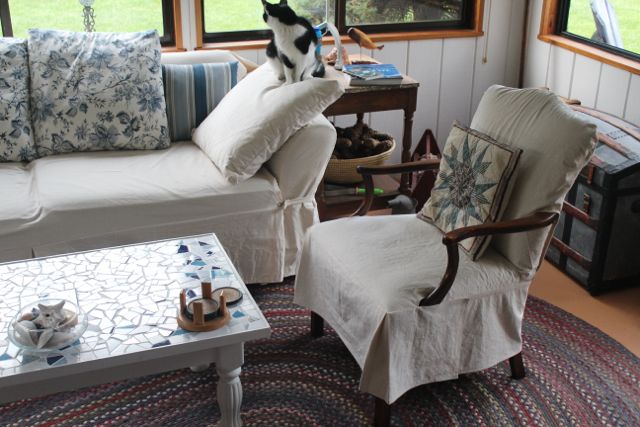
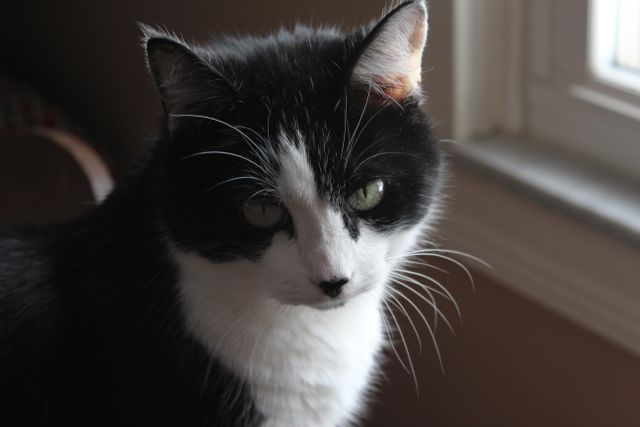
Also worth noting is that right as I was fitting the seat section to the back, my cat, the adorable creature you see here with her back to the camera, decided that she was unhappy with the fact that I had moved this chair from the sunporch to the basement where my sewing area is. She took a giant pee on the chair and set me back about 36 hours while I deodorized, hosed off, extracted water, dried out, and otherwise tried to salvage this chair. It worked, but I added a hidden tube of deodorizing powder in the crack between the seat and the back underneath the lovely new slipcover just to be on the safe side.
She’s still alive and shows absolutely no remorse.
Sophie
Great post. I am facing some of these issues as well..
Pingback: The Sun Porch | The Debby Project