Monthly Archives: August 2013

Twice-Cooked Pork

This one has been a favorite for many years. It takes a little bit of planning since the pork butt needs cooking a day ahead, but it’s well worth the time. I added these cute little yellow squash I got at a farmers market. You could cut them into chunks, but I julienned them.IMG_5584

Preparation time: About 5 minutes
Cooking time: About 45 minutes to simmer; about 6 minutes to stir-fry.
The pork in this spicy Szechwan dish really is cooked twice. First simmered, then stir-fried (if you like, you can even do the cooking on different days). Sweet and hot bean sauces add a distinctive flavor-but if you can’t find them, you may use hoisin sauce and chilies with equally tasty results. Continue reading…

Baby Quilts

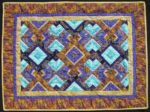
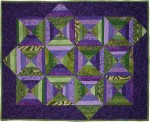
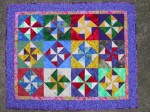
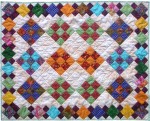
I love making baby quilts. They’re small so they are quick projects. And they can be wildly colorful. At least as far as I’m concerned, they can be. There’s nothing that I dislike more in a baby quilt than something cute or pastel-y.

Here are some of what I’ve made for the friends and family in my life.

Continue reading…

Tiled Coffee Table

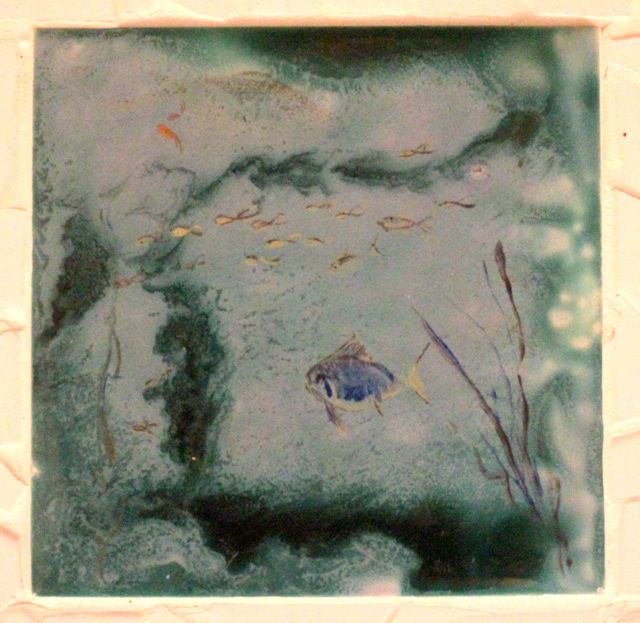
This project was done in 2009. It was the beginning of the Sun Porch fix up. The motivation for it – besides the fact that we really needed a coffee table on this big sun porch – was that the side table my grandfather had built howevermany long years ago, had a center tile that I really liked.Fish Tile

But it didn’t go with the table very well, and that table needed repairing. It has a mahogany top and store bought legs. All the seams in the top were splitting, because, as it turned out, he’d glued the top together with no other reinforcement. That’s right folks. No nails or braces of any kind. So in the non-temperature controlled environment of the sun porch, it was coming apart. Continue reading…

Roasted Cauliflower Quiche

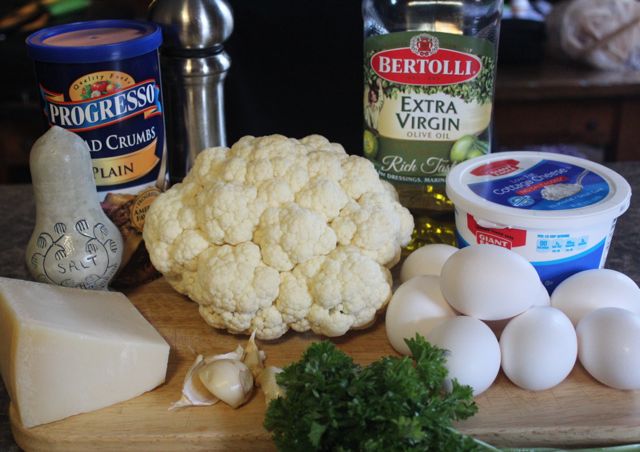
IMG_5537This recipe comes with a caveat. My husband (hereinafter referred to as D—) and I both think this needs some pepping up. I’ll share it the way we made it though. I’d love to hear what ideas you have for additions.

1 small head cauliflower, cut into 1/2 inch thick slices (about 2 cups)
4 1/2 tbsp. extra virgin olive oil
salt & pepper
5 cloves garlic, 3 thinly sliced and 2 finely chopped
1/2 cup fresh coarse breadcrumbs
8 eggs (or equivalent egg substitute)
3/4 cup cottage cheese
1/2 cup plus 1 tbsp. grated parmesan cheese
3 tbsp. chopped parsley Continue reading…

Yogurt-Marinated Grilled Chicken

I have my friend Jennifer T. to thank for this. She was getting rid of a bunch of food magazines (porn as far as I’m concerned), and I was happy to have them. I can’t tell you which magazine this came from though. Nothing left on the bottom of the clipping to tell me. So let’s just say it could’ve been Gourmet, Food Network, Taste of Home, or Rachael Ray. Continue reading…

Zucchini Fries

I am not a huge fan of zucchini. Generally, when faced with a harvest of varying sizes of the things, I turn them into something else entirely, like zucchini bread. But my husband loves squash in any form, so I tried to find something that would make us both happy. This came from allrecipes.com. I liked the flavors and the low carb idea here.Chicken Header

My two biggest hints are: 1) drain, drain, drain the zucchini. I drained mine for about 2 hours and hit it with the kosher salt twice. 2) rinse the dickens out of it before you coat them. All that salt will ruin the flavor if you don’t get most of it off. Continue reading…

Yellow & Gray Quilt – part 2

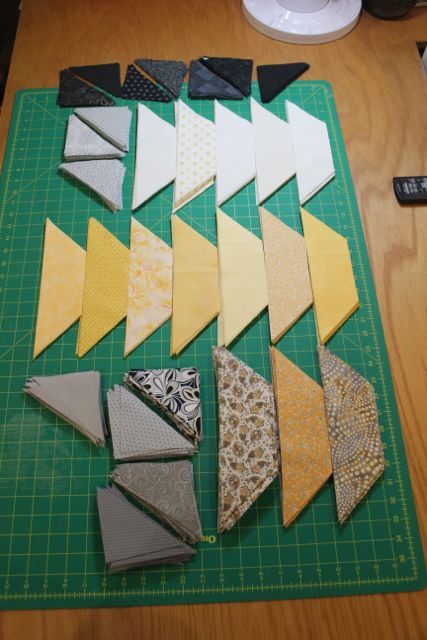
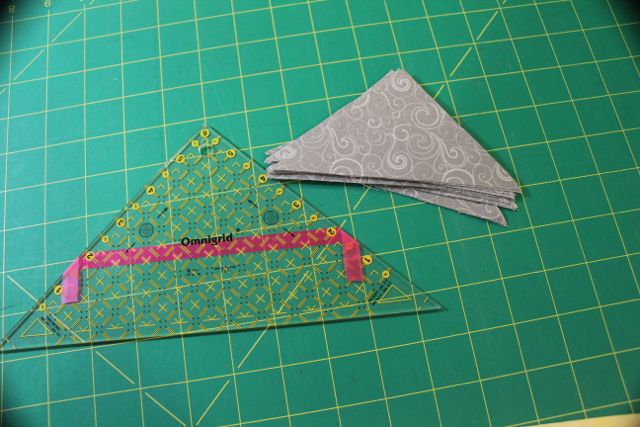
One week later…I have all my fabrics cut. It’s likely I will discover I have either too many or too few of some. IMG_5161There were templates to use for the pattern pieces, but I’m not a fan of templates unless I have no alternative. So I measured them and laid them out on the back of my gridded rulers.IMG_5648

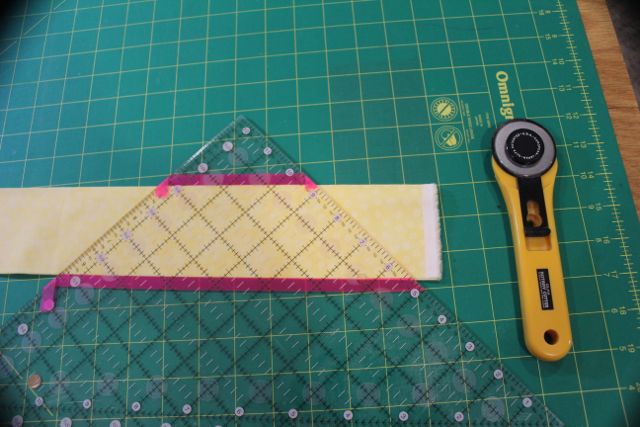
The trapezoids were a little trickier. I cut strips of yellows and whites at 2 3/4″ and then cut the trapezoids from that. This ruler is a 12 1/2″ square. Very versatile.IMG_5649

After I had cut all the blacks, I realized that while the pattern in the book was square, the pattern I designed was on point. Hmmm. Continue reading…

The Upstairs Hall

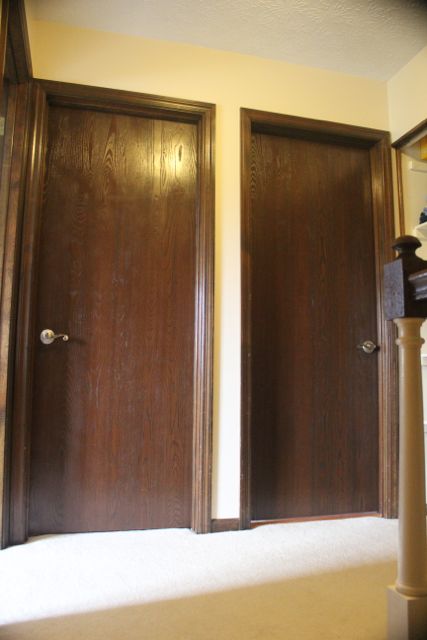
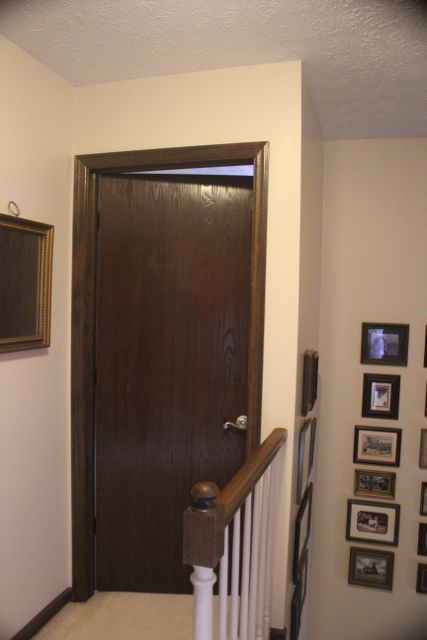
This is what I call a small weekend project. The whole look of the hallway is changed just by painting the woodwork. These pictures show the hallway before. It’s your typical 1970s pre-fab hollow core doors in a disgusting shade of walnut brown. Nothing like it to make the area feel like a cave.

IMG_4955IMG_4954

The only door I actually removed was the linen closet bi-fold. Much easier to paint the edges and this was one where the back might show. Continue reading…

Armchair Slipcover

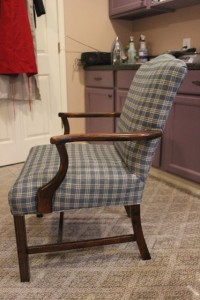
We have this serviceable but old chair that sits on the sun porch. The sunporch was totally redecorated by my husband, 22 year old step-daughter, and me over Memorial Day week 2012. The roof was recently replaced, so there was only one thing left to do. Recover the chair. I had purchased a slipcover for the pillow back sofa. That was too big a project for me to tackle when I could buy a cover for under $100. The chair, however, is not a normal shape. At least, not as far as commercially made slipcovers are concerned.
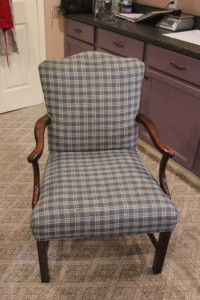
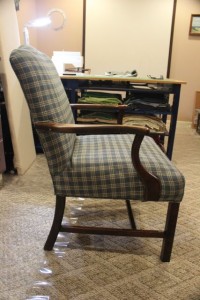
IMG_4326IMG_4327IMG_4328

Since I had to buy cotton duck to cover 2 of the pillows for the sofa, I bought an extra 4 yards. It turned out to be exactly enough. I also planned exactly where I would have to put velcro strips to hold the whole thing on. I am not a fan of those adorable little bow ties, and I wanted this to look as tailored as possible.

I did a bucketload of searches online to find instructions for making my own slipcover. The best one I found suggested laying the fabric over each section of the chair and tracing a pencil line along the cording. I pinned the fabric to the chair so it wouldn’t slip, traced the cording and then cut the fabric about an inch bigger than that to have enough for a half inch seam allowance and hopefully a little extra in case the fabric shrank later.
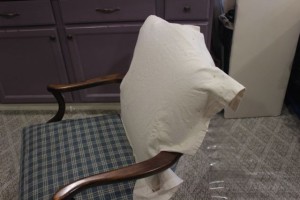
IMG_4330 IMG_4331

I should, perhaps, take this moment to tell you that I had pre-washed the fabric and dried it in a hot dryer in order to minimize future shrinkage.

I started with the front and the back, not tapering the sides too much so it would be easy to actually slip the cover over the top of the chair. I stopped the seams right above the arms, which I wanted to leave exposed. Continue reading…