Tag Archives: sewing

End of the Year Musings – 2015

So how was my year?

I didn’t finish the guest room yet. I still have to put the closet door on. I promise that’s at the top of my list for 2016. And my lovely dining room – which was done before the start of the blog – has a wall-to-wall that has GOT TO GO! So I feel the need to tackle those UFOs (unfinished objects) soon. Those are the first two. The rest of them aren’t really unfinished, because they haven’t been started. But they have been started inside my head. And that’s almost as bad. Continue reading…

How to Make a T-Shirt Quilt the Hard Way

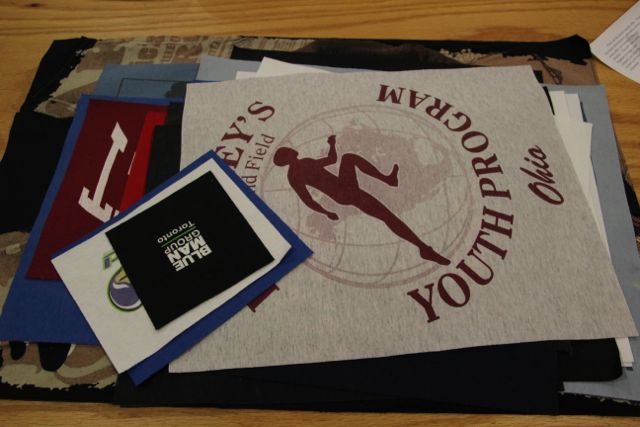
The Pile

The Pile

A few weeks ago my lovely step-daughter moved to Denver with her boyfriend. Great to see her grow up, but I feel really conflicted about having her so far away. Anywhere I have to get on a plane to go to is far away. They piled a ton of stuff into 2 cars and off they went. In her wake, she left some t-shirts that have meant a lot to her, and she just couldn’t see giving them to the thrift store or throwing them out. Dedicated step-mom that I am, I said, “Keep them. I can turn them into a quilt for you. One, two, three.” I’d made one for a friend a few years ago and there was nothing to it. Continue reading…

Mini Wall Hanging for Mom

Almost two years ago, my mother and step-father moved into a retirement community. They had both been very active in their local library, so I was anxious to see the library in the main building of their new residence. It’s a nice little space, but I wanted to give it the Debby touch. So I offered to make a wall hanging for it.

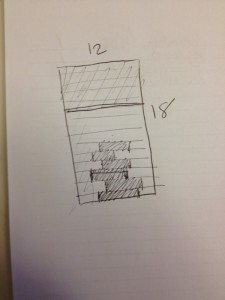
I’ve been quilting for over 20 years, so I have quite a stash of weird pieces. I only had a space of 18 x 36 inches to fit this into, so I knew I couldn’t make it wider than about a foot. I wanted it to be taller than wider, so I just guessed on where it would look good. No pattern and very little measuring.

My Starting Sketch

My Starting Sketch

Continue reading…

Yellow & Gray Quilt – part 2

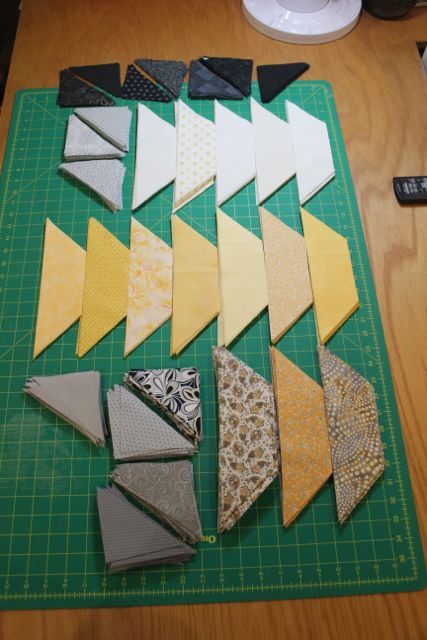
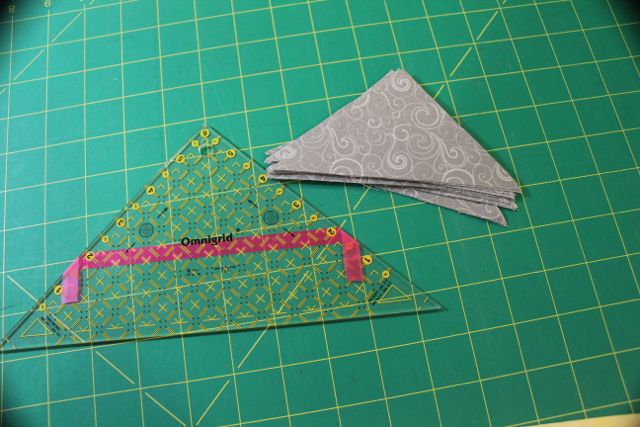
One week later…I have all my fabrics cut. It’s likely I will discover I have either too many or too few of some. IMG_5161There were templates to use for the pattern pieces, but I’m not a fan of templates unless I have no alternative. So I measured them and laid them out on the back of my gridded rulers.IMG_5648

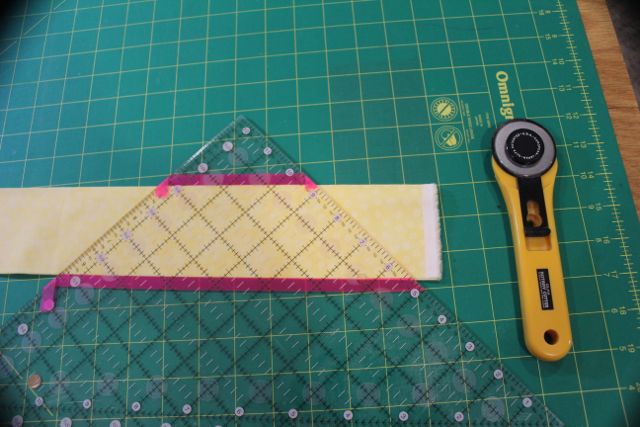
The trapezoids were a little trickier. I cut strips of yellows and whites at 2 3/4″ and then cut the trapezoids from that. This ruler is a 12 1/2″ square. Very versatile.IMG_5649

After I had cut all the blacks, I realized that while the pattern in the book was square, the pattern I designed was on point. Hmmm. Continue reading…

Armchair Slipcover

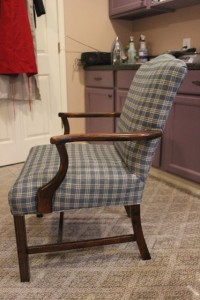
We have this serviceable but old chair that sits on the sun porch. The sunporch was totally redecorated by my husband, 22 year old step-daughter, and me over Memorial Day week 2012. The roof was recently replaced, so there was only one thing left to do. Recover the chair. I had purchased a slipcover for the pillow back sofa. That was too big a project for me to tackle when I could buy a cover for under $100. The chair, however, is not a normal shape. At least, not as far as commercially made slipcovers are concerned.
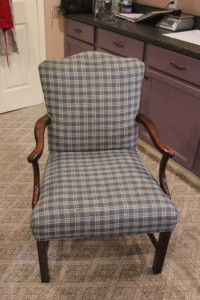
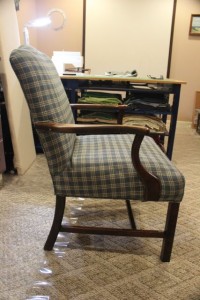
IMG_4326IMG_4327IMG_4328

Since I had to buy cotton duck to cover 2 of the pillows for the sofa, I bought an extra 4 yards. It turned out to be exactly enough. I also planned exactly where I would have to put velcro strips to hold the whole thing on. I am not a fan of those adorable little bow ties, and I wanted this to look as tailored as possible.

I did a bucketload of searches online to find instructions for making my own slipcover. The best one I found suggested laying the fabric over each section of the chair and tracing a pencil line along the cording. I pinned the fabric to the chair so it wouldn’t slip, traced the cording and then cut the fabric about an inch bigger than that to have enough for a half inch seam allowance and hopefully a little extra in case the fabric shrank later.
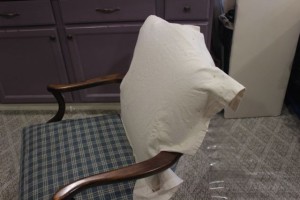
IMG_4330 IMG_4331

I should, perhaps, take this moment to tell you that I had pre-washed the fabric and dried it in a hot dryer in order to minimize future shrinkage.

I started with the front and the back, not tapering the sides too much so it would be easy to actually slip the cover over the top of the chair. I stopped the seams right above the arms, which I wanted to leave exposed. Continue reading…